
Want to install a roof window? Here are 8 steps to help you get started
- Installing a roof window is much easier than you think it is, you just need to understand the process.
- The steps to installing a roof window are straightforward, starting with determining the right spot for a window and ending with closing the hole around the window with plaster. See the full checklist in the article.
- Getting a professional, especially a VELUX Certified Installer, to install your roof window is the best way to make sure it is done properly.
Installing a roof window is easier than you think
Understanding the process will give you peace of mind
Homeowners who've never done any roof-related projects at home often worry about installing roof windows. These concerns can often be addressed by simply understanding the installation process. This will also help you if you're project managing the process.
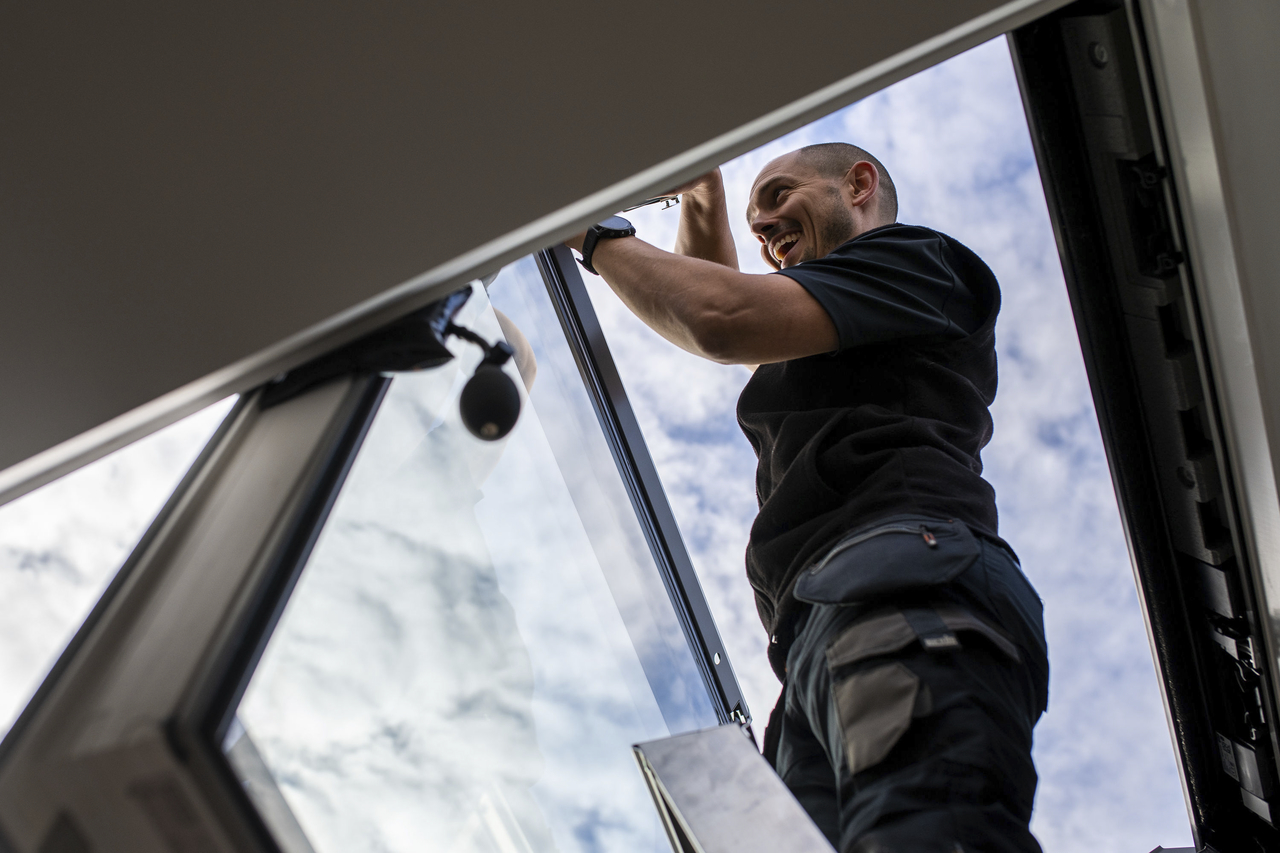
Looking at the process from a VELUX perspective, it's easier to get it done and less of a hassle than you might think. That said, installing roof windows requires excellent skill.
The 8 steps of a skylight installation
There are 8 main steps of a roof window installation:
- Step 1: Determine the right spot
- Step 2: Remove the roof slates or tiles (if your house has any)
- Step 3: Cut out the hole in the roof
- Step 4: Measure the opening for the roof window
- Step 5: Install the frame (address the insulation and correct installation to avoid leakage, etc.) The installers secure the frame of the new roof window(s) to the installation battens of your roof while also installing the flashing kit and securing the roof slates or tiles around the flashing
- Step 6: Install the window sash
- Step 7: Align the inside, ensuring that it is fixed and adequately closed off. The internal lining is added to improve insulation and stop any moisture from passing through the opening around the roof window
- Step 8: Clean and paint. Plaster work is done to close the internal hole around the roof window
That's all. After this, all you need to do is enjoy the daylight streaming into your house.
Let a skilled installer transform your home
Choose the right craftsman
Choosing the right person for the job will give you peace of mind. Before the work begins, the window installers will prepare and protect the space from construction dust. A skilled craftsman can help avoid the pitfalls of an incorrect roof window installation.
Want a tip? Go for a VELUX Certified Installer. They undergo special VELUX product installation training and have all the latest information about our products.